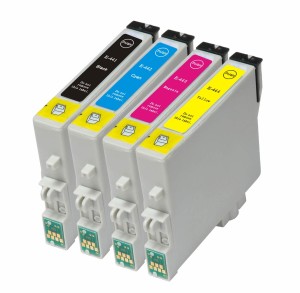
Epson has always promoted the use of OEMs or genuine Epson inkjet cartridges. These are 100% compatible with their printers. Usually, you will not encounter any problem when you use them in changing your ink cartridge. A compatible cartridge, on the other hand, is much cheaper, and you might be tempted to buy it instead.
The problem with compatible cartridges though is that it is sometimes not accepted by the Epson printer. When you see an error message warning upon installing the new cartridge, it means that the printer has not recognized it, and it may not work properly. What do you do?
Luckily, you don’t have to return your compatible Epson inkjet cartridges and buy an OEM. You can simply disable the warning messages. To do this, follow the steps below:
Step 1: Remove the compatible cartridge. Reinsert it. Then, close the cover and wait for a minute.
Step 2: Open the Windows application. Print a document. If the document was not printed, go to step 3.
Step 3: Right-click an open area and click the All Apps icon. Click Epson Print Utility or Epson Status Monitor.
Step 4: Click Maintenance. Then, chose Speed and Progress button.
Step 5: Click the box next to the Disable EPSON Status Monitor option. Click OK.
Step 6: Close Epson Print Utility or Epson Status Monitor.
Once you’ve followed the steps above, try to open a Windows application and print another document. You should be able to print one now.