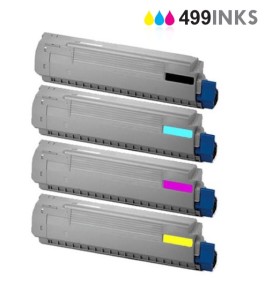
Are you looking for the best Okidata toner cartridges for your printer but can’t decide which one is the best? Here are a few tips that’ll help you choose the best Okidata toner cartridges.
Decide on OEM or Remanufactured Ones
First, you have to decide whether you want to buy the brand new cartridges or the remanufactured ones. New ones are usually assured of good quality as compared to remanufactured cartridges. However, they are much more expensive. Your choice will depend on your preference and most definitely your printer cartridge budget.
Buy From a Reputable Distributor
When you look for brand new cartridges, always buy from reputable Okidata distributors so that you can be assured of quality. Also, these distributors would usually have warranties where you can return the goods if there are any defects. The best way to find a list of distributors around the world is to go to their website and check for a list of their distributors to know which are legit.
Be Careful of Remanufactured Cartridge Sellers
The thing about buying remanufactured cartridges is that you’re not really assured of top quality. If you want to buy a remanufactured Okidata cartridge, then you have to carefully look at the seller. It is recommended that you look for the top rated sellers online. These online sellers are usually featured in reviews where existing customers would rate their products and services. With this, you’ll be able to find the best remanufactured Okidata cartridges at a very affordable price.

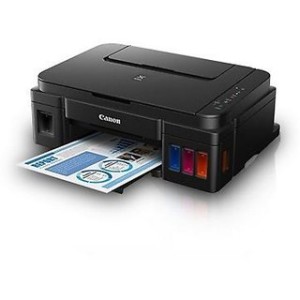
We are currently living in a world where people sell knock-offs of almost any kind of products. This does not exempt printer cartridges. Unless you buy Canon inkjet cartridges from a Canon center or shop, there’s no guarantee that they are genuine. Usually, manufacturers label unoriginal cartridges as compatible or re-manufactured. However, there are those who are bold enough to claim that their compatible cartridges are OEMs.
If you are buying a Canon OEM from a third-party website or shop, you need to look for signs that will help you determine whether the cartridge is really original. Luckily, the company has made it easier for you to identify original products. Most of the signs they give can be found in their packaging.
Sign 1: Canon inkjet cartridges are shipped in plastic or paper packaging. The thermoformed plastic packaging is sealed and branded.
Sign 2: The paper packaging will contain a Canon hologram. When you view this hologram from different angles, the image will slightly change. Some changes include straight lines turning to wavy lines and the appearance of Canon Genuine phrase.
Sign 3: The Canon hologram appears in golden color but changes into green when you tilt it horizontally. On the other hand, counterfeits’ holograms are usually blurry and of the wrong size.
You will need a few seconds to carefully check the Canon inkjet cartridge and verify its authenticity. If you don’t want to undergo this process, the best solution is to simply buy the cartridge from a Canon center or shop.

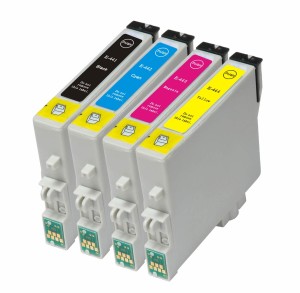
Epson has always promoted the use of OEMs or genuine Epson inkjet cartridges. These are 100% compatible with their printers. Usually, you will not encounter any problem when you use them in changing your ink cartridge. A compatible cartridge, on the other hand, is much cheaper, and you might be tempted to buy it instead.
The problem with compatible cartridges though is that it is sometimes not accepted by the Epson printer. When you see an error message warning upon installing the new cartridge, it means that the printer has not recognized it, and it may not work properly. What do you do?
Luckily, you don’t have to return your compatible Epson inkjet cartridges and buy an OEM. You can simply disable the warning messages. To do this, follow the steps below:
Step 1: Remove the compatible cartridge. Reinsert it. Then, close the cover and wait for a minute.
Step 2: Open the Windows application. Print a document. If the document was not printed, go to step 3.
Step 3: Right-click an open area and click the All Apps icon. Click Epson Print Utility or Epson Status Monitor.
Step 4: Click Maintenance. Then, chose Speed and Progress button.
Step 5: Click the box next to the Disable EPSON Status Monitor option. Click OK.
Step 6: Close Epson Print Utility or Epson Status Monitor.
Once you’ve followed the steps above, try to open a Windows application and print another document. You should be able to print one now.