Printers are essential when you have a computer. They come in handy when you are a student or your work requires a lot of paperwork. Just like your computer or any other machine, it also requires maintenance and occasional replacement of parts since they are also prone to wear and tear.
When you have an Epson printer, it can be tricky on how to change its ink cartridges. Sometimes, a little mistake can damage your cartridges or even the printer itself. That said, here are some tips on how you can change the Epson inkjet cartridges in your printer:
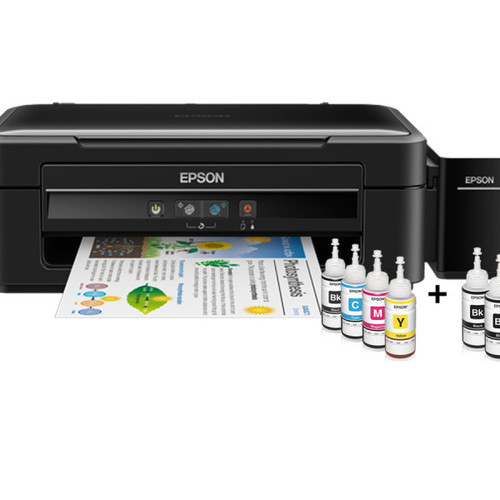
Prepare everything you need before disassembling the printer. Have your cartridges right beside the printer. This allows for a quick replacement and prevents the printer head nozzles from being exposed to air and drying out.
Be careful in handling your printer. As much as possible, do not touch the print head and the white cable inside your printer.
Handle your cartridge with care. Shake it a few times to uniformly distribute the ink that could have settled at the bottom of the cartridge.
Take off the yellow tape then replace the cartridge by placing it into the holder and pushing it down gently but firmly. Once you hear a click, it is already in place.
Once you have finished the process, you can turn on your Epson inkjet printer. This will prompt your print head to go back to its original position. The Ink Cartridge Replacement screen will then appear.
If an error has occurred while replacing your cartridge, just go back to the cartridge and check if it’s in place by hearing a click.